Finding the Needle In A Haystack Guide
Organize the haystack search into readable areas, inspect exposed surfaces, and use tools without relying on a fabricated fixed needle location or depth.
To search for the needle, clear the haystack in a pattern you can recognize, inspect the area you just exposed and return to the same work area after selling. Use workshop upgrades to support that routine. The official Steam description confirms one needle somewhere in the pile, but does not establish a fixed coordinate, guaranteed depth or universal shortcut. This guide offers an organized search method without inventing a location.
View reference image
On this page
To search for the needle, clear the haystack in a pattern you can recognize, inspect the area you just exposed and return to the same work area after selling. Use workshop upgrades to support that routine. The official Steam description confirms one needle somewhere in the pile, but does not establish a fixed coordinate, guaranteed depth or universal shortcut. This guide offers an organized search method without inventing a location.
The game covered here is Little Field Studios’ A Game About Needle In A Haystack, Steam App 5321400, released October 16, 2026. Official text and gameplay previews were checked October 18. Other needle games have similar titles, so a video about a multiplayer search or a differently identified Steam app is not evidence for this game’s map, needle placement or completion sequence.
Decide what counts as a searched area
Removing hay and inspecting the newly exposed space are different parts of the task. A large cleared area can still be hard to interpret if you moved away before looking at it. Begin with a visible edge of the pile and decide which small face or strip you will work on next. The exact shape is your organizational choice, not a developer-prescribed route.
Choose a boundary you can find again. That can be the edge of the cleared surface or its position relative to the yard. After gathering, look at the area before leaving to sell. When you return, resume at that boundary rather than starting a separate cut simply because it is closer. A consistent return point reduces repeated uncertainty.
Do not label an entire section searched after one large tool effect. Inspect what was exposed and what remains attached around it. This method does not assume the needle has a particular spawn chance in a given section. It helps you keep track of your own work while the objective remains hidden.
Keep the sale trip inside the search plan
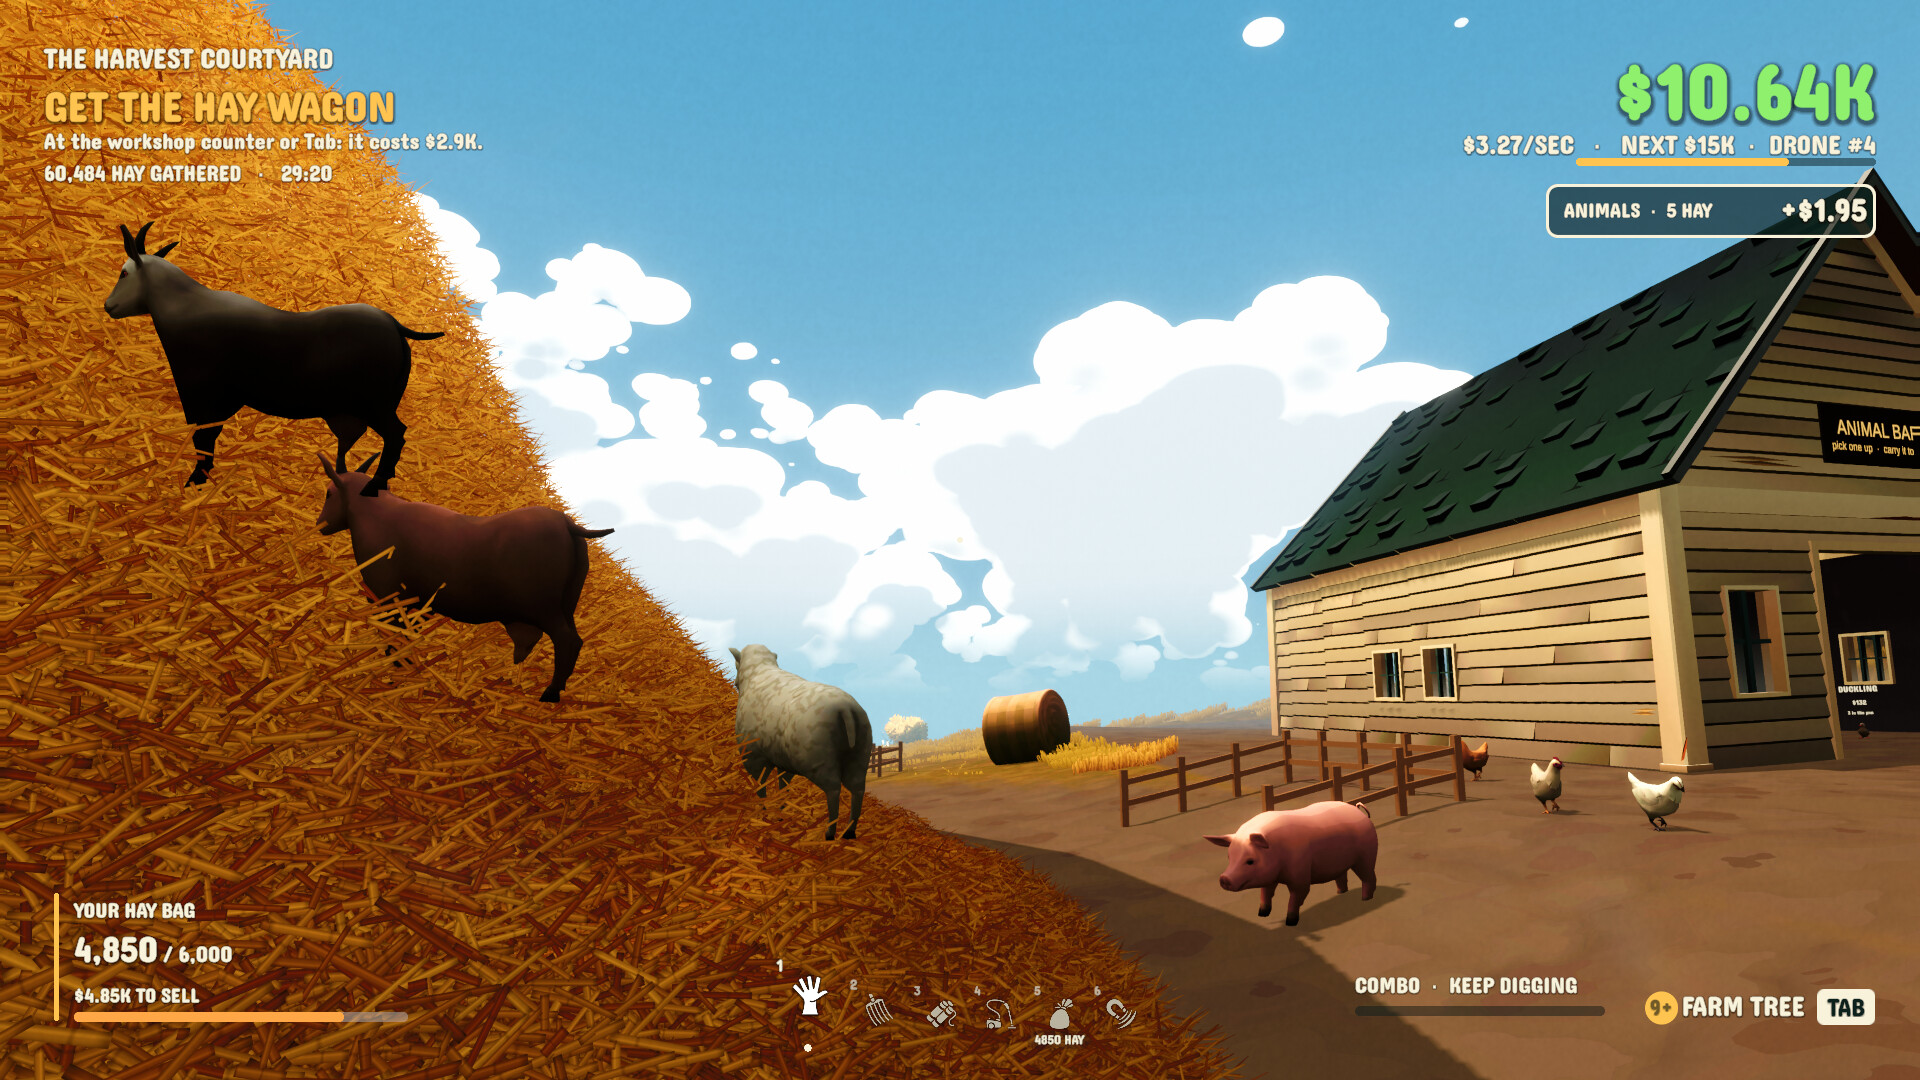
The official loop sends collected hay into a bag, then to the cow for sale. A full bag is therefore a natural interruption. Before going to the cow, remember the next place you intend to inspect. After selling, return there. The beginner guide provides the full dig, carry, sell and workshop routine.
A familiar return route matters because a search can lose structure even while money increases. If every sale sends you to a different face of the pile, you may stop knowing which surfaces you inspected carefully. Choosing a known work area keeps the economy connected to the objective rather than letting it become an unrelated collection habit.
Use the live bag and money displays to confirm a sale. Do not plan the next upgrade from an assumed balance or a sale value copied from another title. The official source establishes that hay can be sold for money; it does not give this guide a complete price formula or a guaranteed amount earned from a particular search strip.
Match the tool to the clearing task
The official pitchfork removes a large clump per swing, dynamite blasts a crater and the vacuum collects continuously with overheating. Each changes how the pile is opened, but none is documented in our sources as revealing the needle at a fixed location. Use a tool to create an area you can inspect rather than expecting its appearance to prove the search is finished.
After a pitchfork action, look at the face that remains before moving to another section. After dynamite, inspect the crater and its edges. During vacuum use, notice the area exposed as you collect and respect the current overheating indicator. These are suggested observation habits, not claims about exact hitboxes, blast radii or hidden detection behavior.
If you are comparing tools, keep the work area and purpose familiar. For example, decide that the next attempt is about opening and inspecting one recognizable section. This gives you a useful basis for the purchase decision. The tools and upgrades guide explains the separate roles of capacity, hand speed and the three named tools.
Inspect deliberately when something looks different
A search objective asks you to notice an object, not only remove material. When something unfamiliar appears, pause long enough to see what the game presents. Check any visible interaction prompt rather than assuming that continued clearing is the only valid action. Our checked sources do not establish the exact final interaction, so this page does not invent a key press or an automatic pickup rule.
Likewise, we do not publish a precise color, size or outline as the only way to recognize the needle. Store screenshots and video frames can be useful context, but a promotional camera angle is not a universal visibility guarantee. Let the live game’s object and prompt provide the confirmation when you encounter it.
If you believe you found the objective, observe the game’s response before claiming completion. A visually unusual object and a confirmed finish are different states. This article does not add a supposed ending screen, achievement trigger or mandatory post-needle step that our source pack has not verified.
Avoid fixed-location claims
The official description says the needle is somewhere inside a huge haystack. It does not say whether every save uses identical placement or whether the location is randomized. Both a fixed-coordinate promise and a claim of a particular random distribution would go beyond that evidence. We leave the placement rule unknown rather than filling the gap with a confident guess.
A screenshot from someone else’s session does not resolve that question. It may show where an object appeared in that recorded state, but it does not prove where your game must place it. Use such material for recognition only after checking the exact game identity and version. Do not reorganize a whole search around an unverified coordinate.
The same caution applies to a promised completion time. Your pace depends on the working pattern, upgrades and decisions in your session, and we have not measured a universal route. A guide that claims the needle always appears after a certain amount of hay needs stronger evidence than the title of a video or the store’s general objective.
Recover your pattern when the pile becomes confusing
If you lose track, stop making new distant openings for a moment. Find a recognizable boundary of the area already cleared and choose a new inspection strip beside it. You do not need to reconstruct every previous action to restore a useful method. You need one clear next piece of work.
Avoid presenting a reset as a free recovery step. Save and reset behavior, retained upgrades and the effect on needle placement were not established in the checked official material. If you consider resetting, read the live warning first. This guide does not promise that a reset preserves your money, equipment or search state.
If an upgrade changes the way the pile clears, adjust the size of the area you inspect between actions. Bigger or faster removal can make it easier to work, but it can also make a familiar pattern feel different. Re-establish the boundary and continue with one deliberate change rather than buying several more upgrades to solve an organizational problem.
Use progress that you can actually observe
Useful progress is a clearer work area, a confirmed sale, a workshop purchase whose role you understand or a new surface inspected. None of those proves that the next action must reveal the needle. They give you control over the process while the final location remains unknown.
Keep your search readable, refresh the official page when the game changes and separate a demonstrated tool behavior from an invented solution. The point of this method is to reduce repeated uncertainty, not to promise a secret route. Continue clearing and inspecting the pile with a consistent return point until the live game gives you a confirmed result.
Step-by-step guide
- Choose a recognizable boundary
Choose one edge or other visible boundary and clear a section you can recognize. Treat this as an organizing routine, not a claim that the needle is placed at a fixed coordinate.
- Inspect the exposed area
Look over the newly exposed area before moving on. Use the outline of the cleared section to resume after a sale or workshop visit.
- Confirm the live game result
If you see a possible needle, follow the live interaction prompt and check the game's result. Do not substitute an assumed depth, old screenshot coordinate or unverified reset rule for that confirmation.
Quick reference
Task checks
| Situation | Check |
|---|---|
| Search area | Choose a visible boundary and keep the cleared section recognizable. |
| After clearing | Inspect the newly exposed area before widening the search. |
| After selling | Return to the same work area. |
| Possible needle | Use the current game prompt and verify the displayed result. |
Video evidence
Watch creator walkthroughs alongside this guide. Check the recording date before following requirements that may have changed.
Official cow and yard preview
Shows the cow and yard associated with the official sale loop.
FAQ
Which game and source does this guide cover?
This guide covers the exact Little Field Studios game linked in the sources, checked October 18, 2026. Each gameplay source has its own date.
What if the live interface differs?
Follow current game prompts and check the official listing. Send a correction with the game identity, date and observed difference to linming7277@gmail.com.
Sources
Recheck these links whenever the game version, release status, or strategy changes.
- Official A Game About Needle In A Haystack listing Identity and features checked October 18, 2026.
- Official full trailer manifest Exact official App 5321400 trailer, separate from the directly playable store preview clips.